

SUBSCRIBE
Get on the list and let’s become friends. Join our community of like minded women, and get all my latest recipes, finds and personal stories. I’m so happy you’re here.
DIY powder room remodel
When JP and I first bought this 100-year-old home a little over six months ago, we had a pipeline of dreams. Ideas, visions, and plans of things we’d like to do. It felt as if every square inch of this home needed work, and we were all about it. We wanted a “project” and this old house certainly deserved it (and needed it).
And although I wouldn’t say that anyone would hire JP or me as general contractors, over the years we’ve have had our fair share of small “DIY” projects with our previous homes. So with this house, we really wanted to see how much of it we could do on our own.
Our plan was simple, “you, me and YouTube” (hahaha). And if we couldn’t figure it out after a few tries, THEN we’d call in the experts. But to start, we really wanted to see how much of our home we could “spruce up” on our own.
With that in mind, this powder room was the perfect spot to try. So we challenged ourselves to see how much of this we could do on our own, and if we could do it on a minimal budget.
Here’s what this beauty of a room looked like when we first moved in….
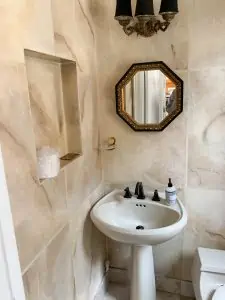
There were a couple of great things this room had going in our favor. One, it was small. And two, no plumbing/electrical needed to be moved – it felt purely “cosmetic”.
But very quickly we realized that these same “pros” for the space would become our challenges. One, it was small (haha). And two, no plumbing/electrical COULD be moved so we had to work within the current footprint. Everything from where the sink was to the placed, to the height of the light fixture. NOTHING was being moved (unless we wanted to demo walls. We quickly discovered the walls of this room are concrete and demoing them was NOT in the budget. So we had to make it work).
Our plan for the bathroom was simple. We wanted it to feel clean, fresh and modern. We had limited time and a limited budget, so we had to be smart about where our dollars went. I chose to focus our money on the finishing touches, the “jewelry”. I wanted a gorgeous faucet a great light fixture, the rest I could compromise on.
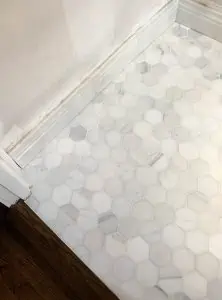
First up, the floors. The bain of JP’s existence. We had no idea what a project this small little floor would be. It turns out JP had to remove not one, BUT FOUR LAYERS OF TILE. All laid directly on top of each other (oh, the joy of 100-year-old homes). We decided that if we were going to spruce up this space, we wanted to do it right. So that meant getting down to the subfloor, laying a new foundation and releveling everything.
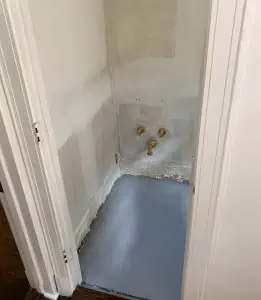
Once that was finally done, we could lay our new floor. We decided on a marble hexagon tile, and a coordinating marble tile for the baseboard (because remember those cement walls we found? Using nails for a wood baseboard wasn’t an option). We found so many gorgeous tiles I was drooling over at our local tile store, Bella Tile & Stone, but in the end, this simple hexagon won. It’s classic, simple and most importantly a great value. We could have easily spent more $$ on the floor, but in the end, it wasn’t where I wanted all of our dollars to go. This marble hexagon was the perfect compromise of form and function. And to top it off, JP did one heck of a job laying it down. This was his first time ever laying down a tile floor, and he essentially “googled” his way through (I wish I was kidding). Lots of trial and error – but he did it.

Next, we had the challenge of finding a sink and toilet that were one, affordable (again, back to the budget. lol. ) and two, would FIT! Thankfully we found the Kohler Memories Collection at Lowes, and it fit perfectly. I have always been a huge fan of Kohler. Their pieces have classic gorgeous lines and their products are so dependable. Kohler was an easy choice for us.
I especially love the Kohler Memories sink because of the lip around the edge of the sink. That was really important to me. With little kids, we need a place to set soap, a towel, and let’s be honest, their legos (haha. I wish I was joking) without them ending up in the sink. The Kohler Memories sink has a great thick lip that’s perfect for my little guys as they’re washing their hands (or giving their toys a bath ;)).
Next came all the fun stuff. The stuff I really love. The hardware, wallpaper, faucet. My jewelry.
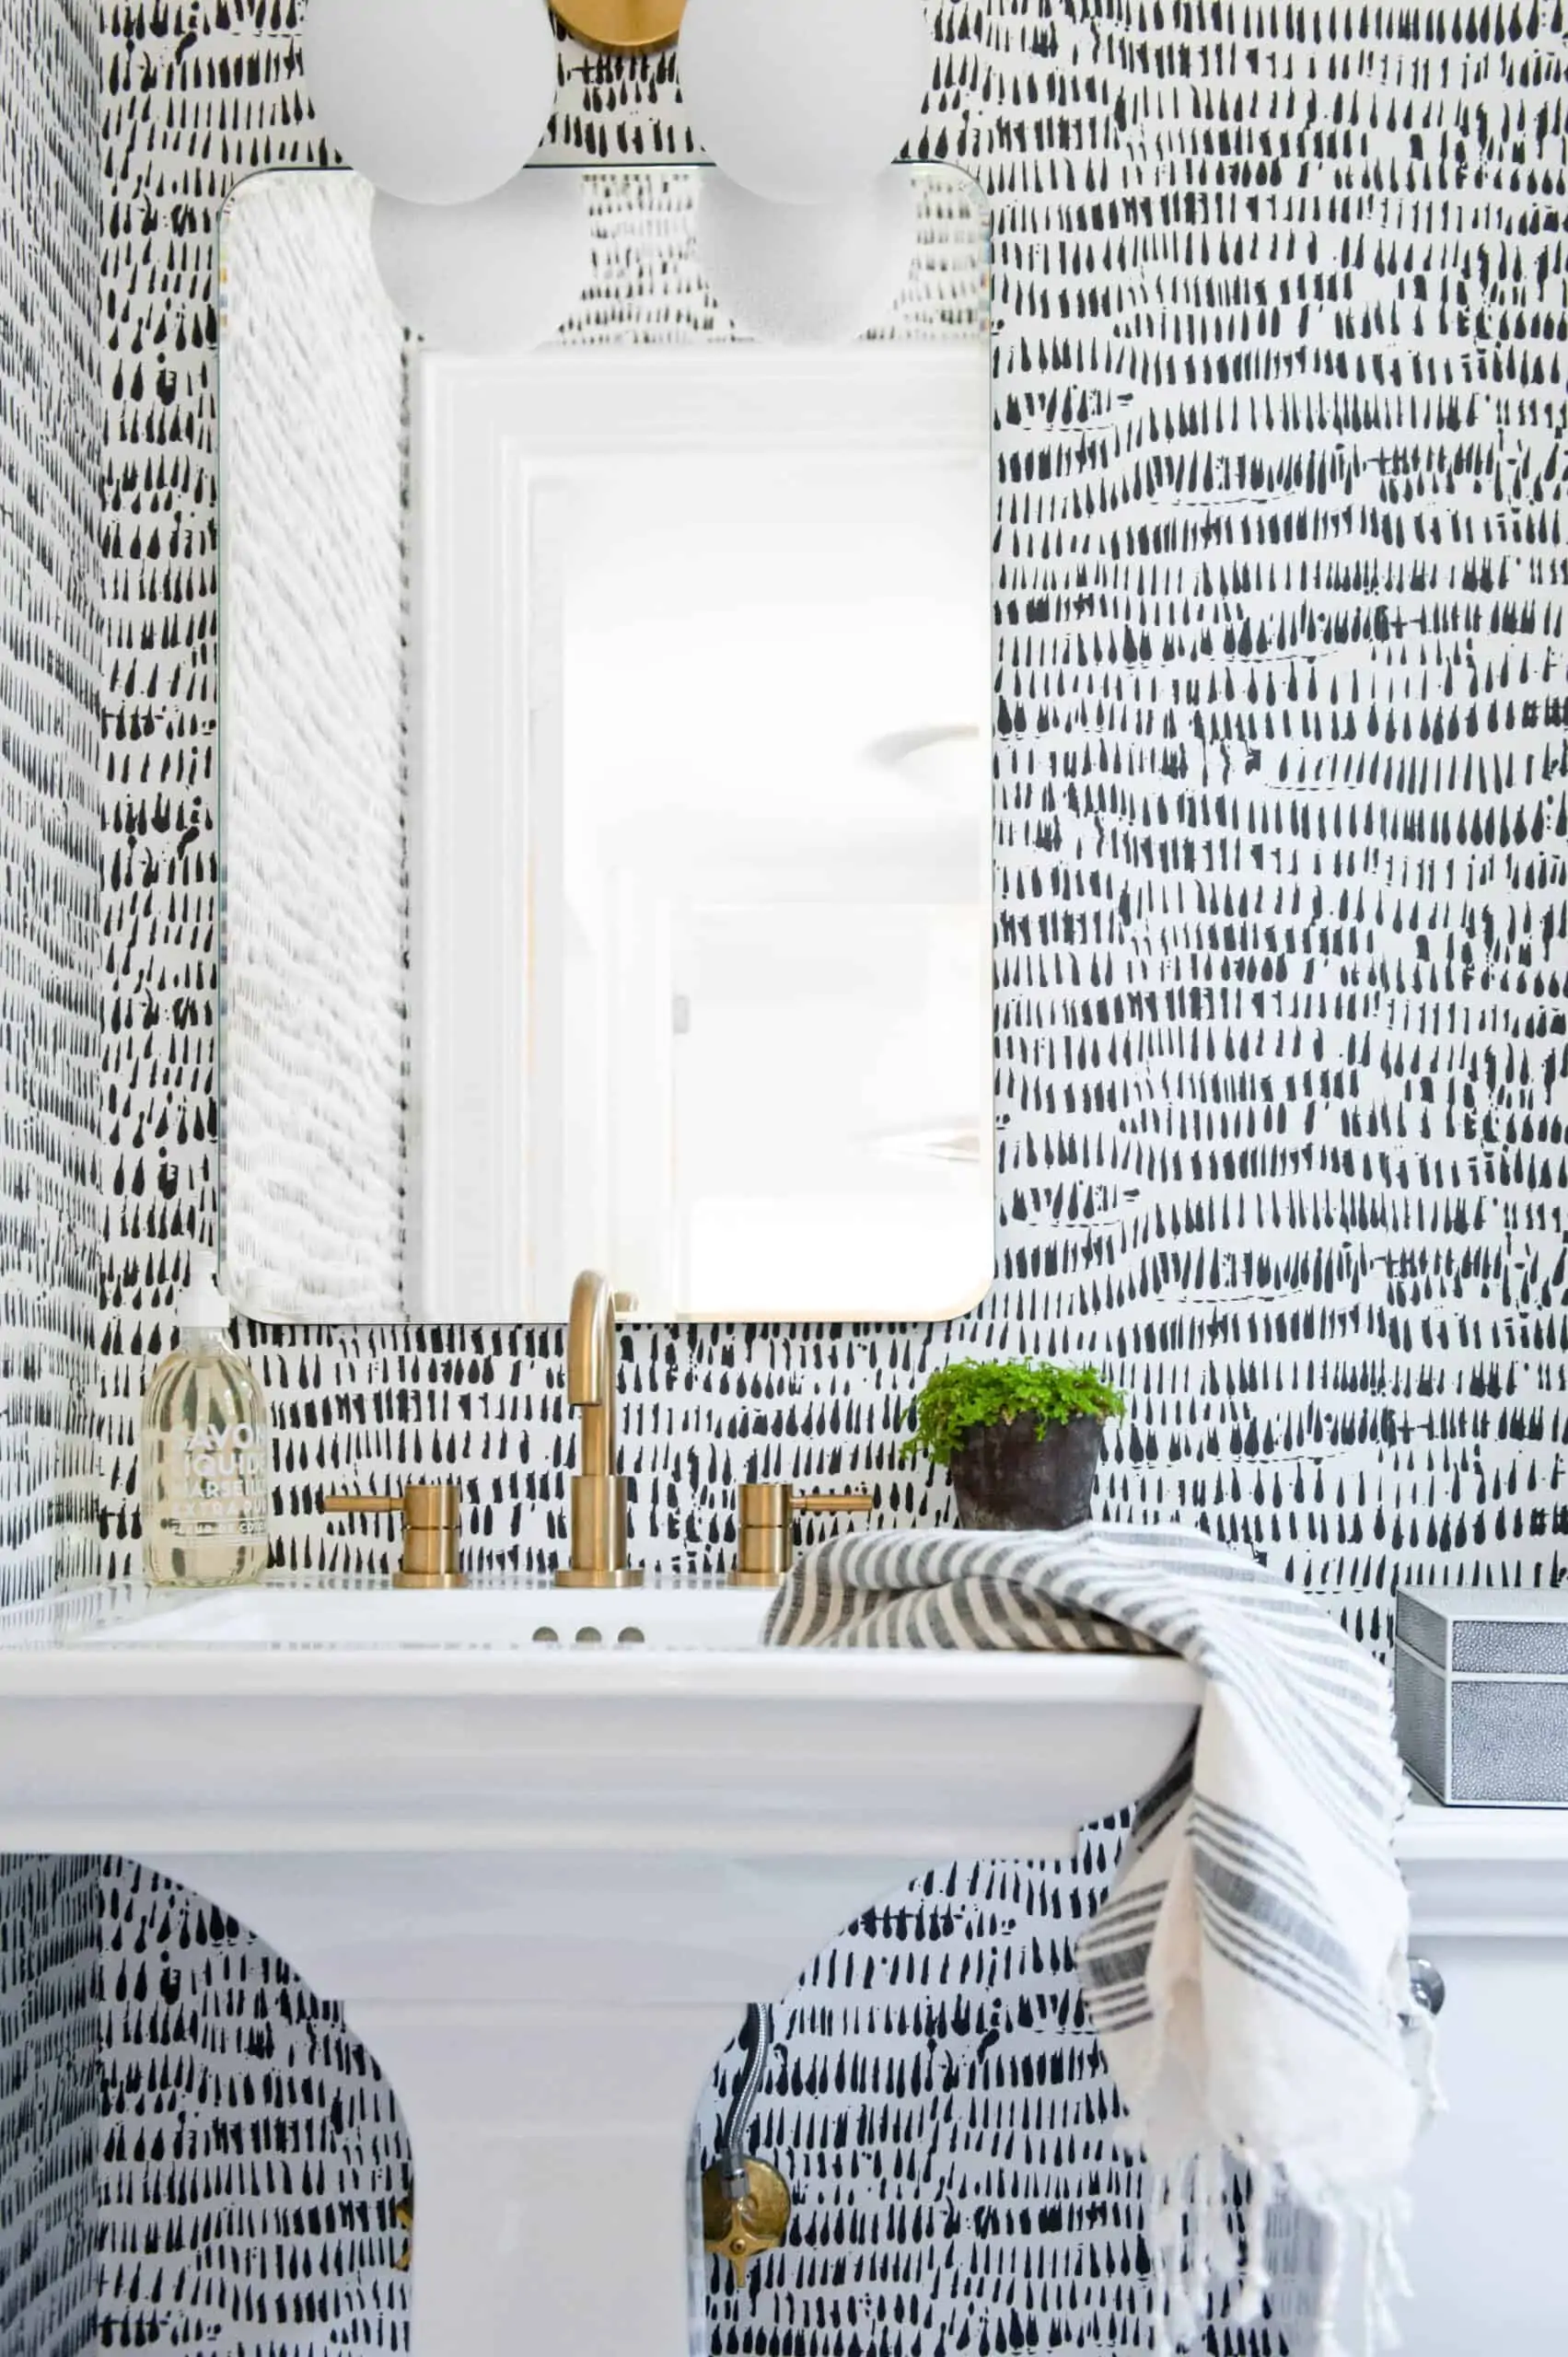
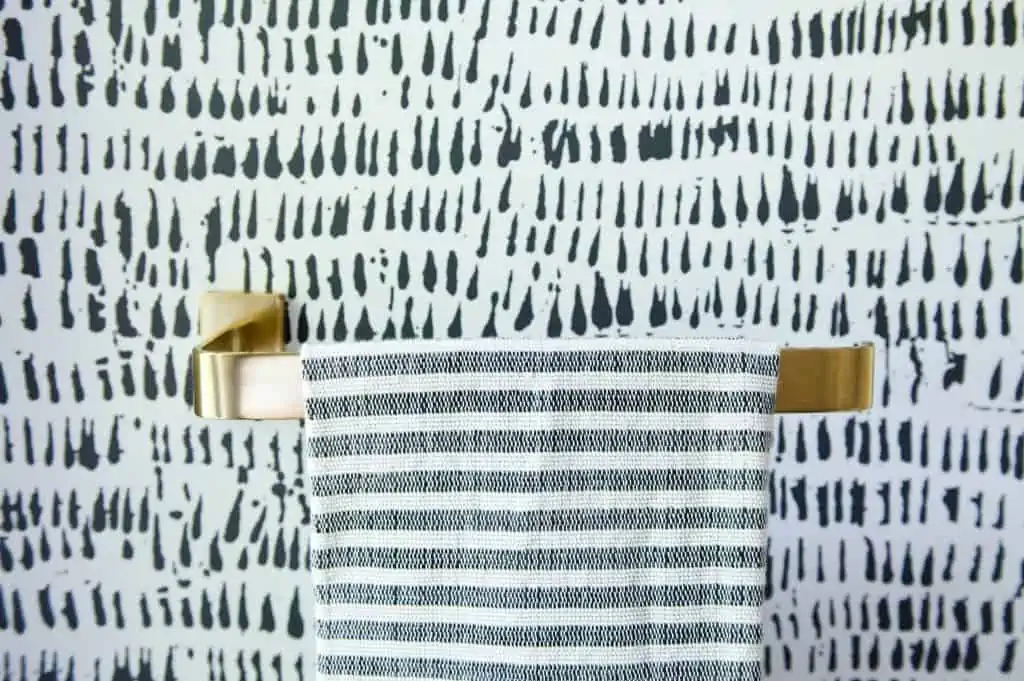
The first thing was to find the right wallpaper. I had been dreaming about using this wallpaper from Schumacher, Queen of Spain. I really wanted to use it in this space, but at the end of the day, it just wasn’t in our budget. So I did the next best thing – use it as inspiration and find something that WAS in my budget. I ended up finding our wallpaper in the clearance section at Anthropologie (which sadly is no longer available, or I’d link it for you) of all places and it was an extra 50%. The total cost of the wallpaper was $100 (I’m pretty sure this was the only line item where I came in UNDER budget. But hey, I was trying…hahaha)
Next up were the faucet and hardware.
I chose this gorgeous Avanity faucet (that we purchased through Perigold). We wanted something easy for little hands to grab and it had to have a short neck because of our limited space. I think it’s the perfect combination of being functional for all my little people, but still pretty enough for me.
![]()
With so much going on, in such a tiny space, I wanted to keep the rest of our fixtures, including our mirror, super simple. I love Rejuvenation and knew their hardware would be perfect for this space.
I chose this sleek but timeless frameless mirror and then this set of aged brass hardware for the towel rack and toilet paper holder. Again, it went back to first and foremost something that was going to function easy for little hands. I love that both of these pieces of hardware are “open” so towels or toilet paper can easily slide right on (no excuses now, kids ;)), but are also gorgeous and modern. Pretty enough for me, functional enough for them. Best of both worlds.
And last but not least, was the lighting. We chose this mid-century modern fixture from Mitzi that I love. I’m really happy with how it works in the space. Simple, but fun and modern.
![]()
All in all, I’m so happy with how this little powder room turned out. I’m not sure that JP and I are opening up our own remodeling business anytime soon. But I will say, that I think we both feel really proud of what we’ve done. There’s something really satisfying knowing that YOU did it. We did the work, tried something we’ve never done, and I can’t believe I’m saying this….actually had a little fun along the way. Next up, our master bath. JP, I hope you’re ready…..
![]()
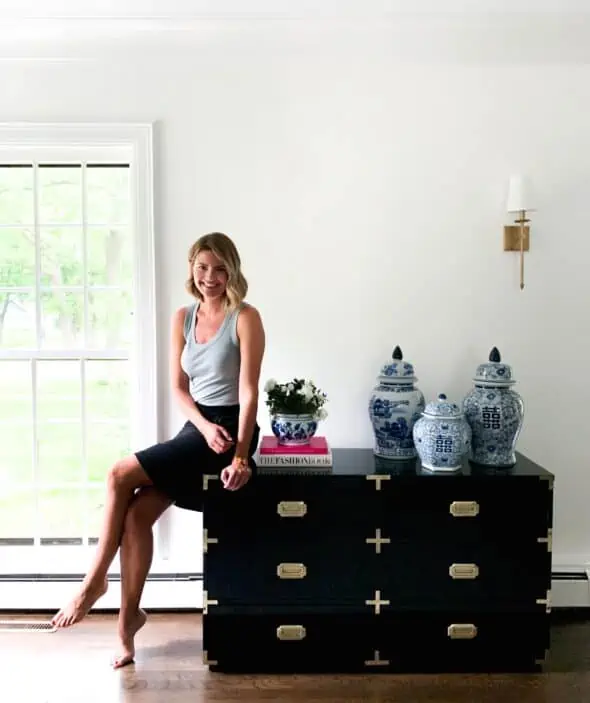
photos by Stephanie Murphy at AFMPHOTO
LEAVE A COMMENT & RATE